Product Introduction
Solar flashings are components that play a vital role in solar panel installations, mainly used to prevent water leakage. They are waterproof barriers carefully installed around solar panels. They are typically made of durable metals such as aluminum, galvanized steel, copper or stainless steel. Their main purpose is to seal the edges, joints and gaps of solar panels to prevent water from seeping in.
Product Details


Product Parameters
|
Material |
High class anodized aluminium |
|
Color Options |
Black & Silver |
|
Warranty |
12 years |
|
Application |
Applied for the most tile roof |
|
Surface treatment |
Clear Anodized, or Black Anodized |
Why should use solar flashings on the solar mounting system?

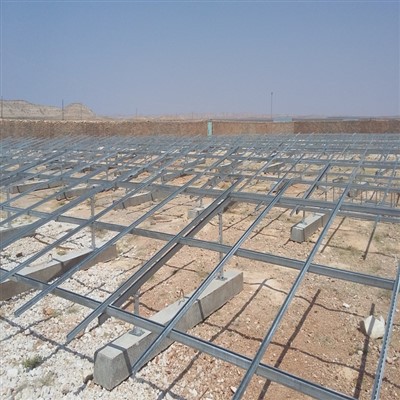
Proper solar flashings are of great significance for both the service life of solar panels and the safety of the building. Without them, water leakage can occur, causing damage to the roof structure, resulting in issues like roof leaks and ceiling dampness. This not only affects the normal use of the building but also leads to costly repair expenses. Meanwhile, water ingress can also damage solar panels and related equipment, reducing the efficiency and lifespan of the solar power system and bringing economic losses to users.
How to install solar flashings correctly?
Preparation
Gather materials and tools: You'll need solar flashings (appropriate type and size for your installation), roofing screws, sealant, a drill with the appropriate bit, a screwdriver, a utility knife, safety gear (including gloves and safety glasses), and a measuring tape.
Installation Steps
Measure and mark: Measure the edges and joints of the solar panels and the areas where the flashings will be installed on the roof. Mark these locations accurately to ensure proper alignment.
Prepare the flashing material: Cut the solar flashings to the appropriate length and shape using a utility knife or metal shears. Ensure that the cuts are clean and precise to achieve a good fit.
Install base flashing: For step flashing, start from the bottom of the roof slope. Position the first piece of flashing under the bottom row of shingles and above the solar panel mounting bracket. Secure it in place with roofing screws, making sure to drive the screws through the pre-drilled holes in the flashing and into the roof deck. Seal around the screws with sealant to prevent water penetration. Continue installing step flashing pieces in a stepped pattern, overlapping each piece properly as you move up the roof slope.
Seal all joints and edges: Apply a generous amount of sealant to all joints, seams, and edges where the flashings meet the solar panels, the roof, or other flashings.
Check for proper installation: Once the flashings are installed and sealed, visually inspect the entire installation to make sure there are no gaps, loose edges, or areas where the sealant is missing. Check that the flashings are properly aligned and secured.
Final Inspection
Water test: Use a hose to spray water on the installed solar panels and flashings from different angles to simulate rain. Check for any signs of water leakage inside the building or around the solar panel installation area.

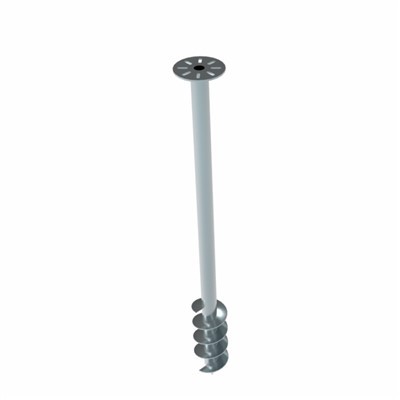
Hot Tags: solar flashings, China solar flashings suppliers, factory, ground screw for solar, Solar Metal Roof Clamps, adjustable screw pile with little blades, solar panel mounting system, , grounding lug